
Wonderful, you have your print and now you need to frame it, but how? It is possible to do all the framing yourself following the ideas outlined below. However, for more a permanent archival mount I recommend taking your print to a local framer.
(I have listed names of a few shops you can google; some I have used myself some I have heard others recommend).
Framing yourself
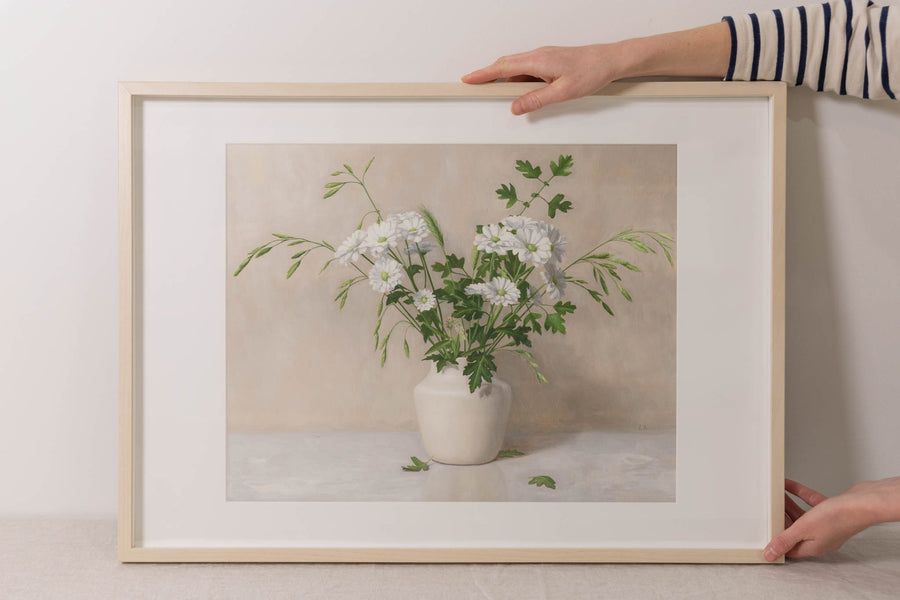
Firstly, decide what type of frame you want. Consider the type of material, colour, and thickness with respect to both the style of the print and the style of your home.
Next decide if you would like to frame with a mat board or without. The mat board is cardboard with a cut-out that forms a border around the print. It is available in a wide range of colours, although a shade of white is the most common. Framing without a mat means the print expands to the edge of the frame. To use a mat or not is personal preference as both styles suit the prints.
If you chose the without mat option, you can frame with our without glass, but more on that later.
Now to selecting the frame size. If you have chosen to use a mat board, you will need to buy a frame larger than the print. For example, if you want a border of 2 inches (5cm) around your print it will add 4 inches (10cm) to the length and width of the required frame.
If you aren’t using a mat board, chose a frame the same size as the print.
Another thing to consider when choosing a frame is the quality of the frame. Cheaper frames are often less durable and flimsy, however, if handled with care they can still look wonderful.
Framing with a mat
Materials
- Frame
- Mat board (acid free)
- Tape (acid free)
- Scissors
For this example I am using an Ikea Hovsta Frame, 20x28 inches (50x70cm) with a cut-out smaller than the 16x20 inch print. Some ready-made frames come with mat boards with a cut-out to fit your print size, otherwise you can buy mat boards separately. FramesNow in Australia and CraigFrames in the United States offer some lovely oak frames with matted options.
Prepare a large, clean, soft worksurface so you don’t damage your frame. I lay a tablecloth over my clean worktable. Make sure you have clean hands or wear cotton gloves.
Lay the frame face down and take the backing off.


Place the matboard and print back in the frame with the frame backer and secure and you are done!

Framing without a mat and without glass
Materials
- Frame
- Foam core (acid free)
- Adhesive (acid free) - double sided tape or adhesive sheets
- Scissors
- Craft knife/blade
- Ruler
- Pencil

For this example I am using a 16x20 inch oak frame with glass from FramesNow in Australia.
Remove the glass from the frame.
Measure and cut the foam core to the size of the print and frame.

Place the foam core face up on your clean worksurface. Cover the foam core with a liberal amount of double-sided tape or adhesive sheets. Carefully line up the print onto foam core. Check to make sure the boarders align and once you are happy firmly press the print to secure it to the adhesive. Use cotton gloves or a clean piece of paper to prevent contact with the print.
Place the secured foam core and print back into the frame with the frame backer and secure.


As the print doesn’t have UV glass/acrylic protecting it you will need to keep it in a safe place away from direct sunlight and sticky toddler hands.
Framing without a mat with glass
Materials
- Frame
- Spacers (optional)
This option, called glass mounting, can be as easy as placing the print against the glass and securing the backing board back on the frame.
One of the limitations of glass mounting is that your print will be pressed directly up against the glass. Often framers recommend keeping the glass away from your print for conservation purposes (to prevent potential image transfer to the glass) by using spacers. A spacer is a thin strip of plastic or timber that provides an air gap between the print and the glass.
If you are concerned about your print touching the frame glass you can attach your print to foam core as described above and buy a ready-made frame with spacers.
Or take your print to a local framer and discuss mounting options.